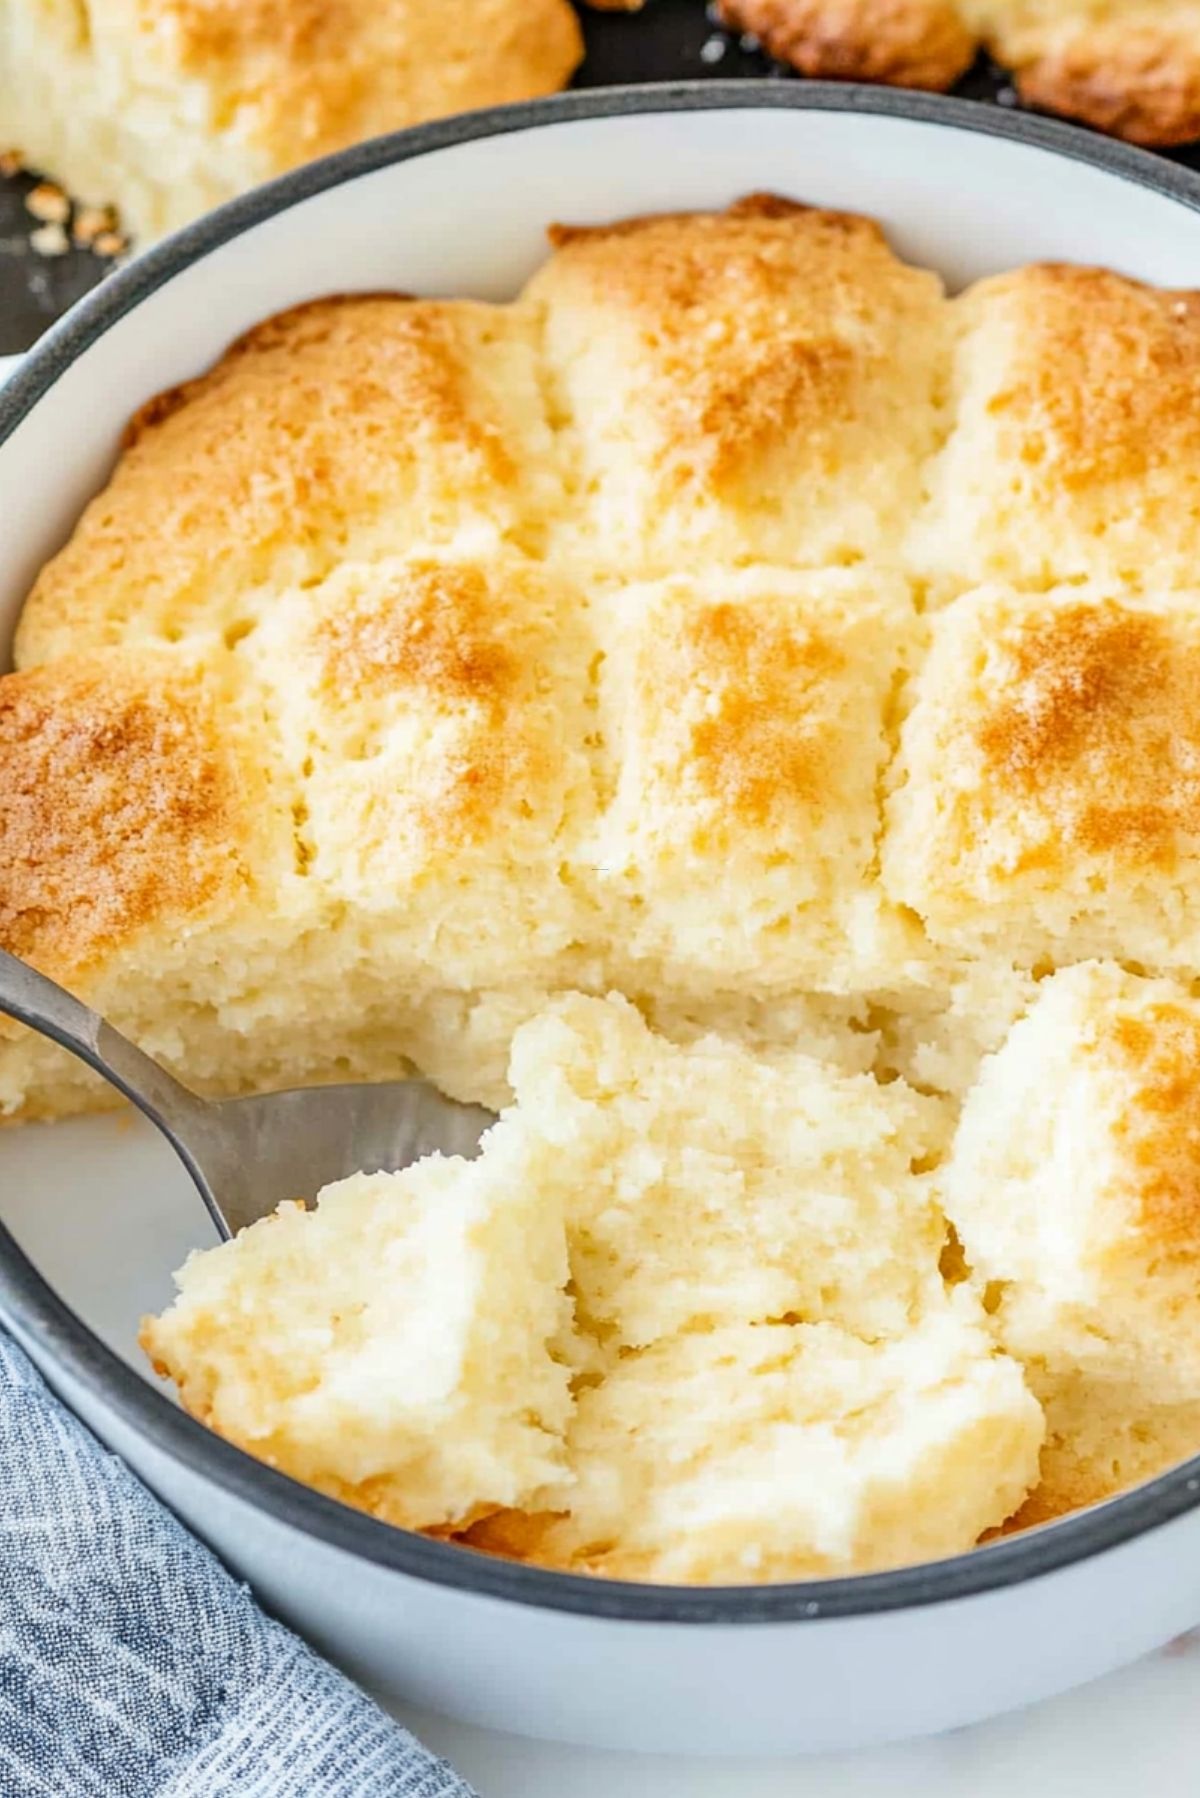
If you’re on the hunt for a biscuit recipe that’s as easy as it is delicious, then let me introduce you to Butter Swim Biscuits. Imagine this: soft, fluffy biscuits, with buttery layers that practically melt in your mouth, and all you had to do was swim the dough in butter before popping them into the oven. No rolling, no kneading—just pure, golden, buttery bliss. Trust me, you’ll want these for breakfast, dinner, and everything in between.
Why You’ll Love This Recipe
These biscuits are absolutely foolproof and take minimal effort to make. There’s no fussing with cutting in butter or worrying about overworking the dough. All you need to do is pour melted butter into your baking dish, drop the biscuit dough right on top, and let the oven do the magic. The result? Biscuits with crisp, golden edges, soft centers, and that irresistible buttery flavor. They’re perfect for any meal and are guaranteed to be a hit at your next family gathering or brunch. Plus, they come together in no time—ideal for when you’re in the mood for something warm and comforting.
Ingredients (Full list of ingredients below!)
Here’s a sneak peek at what you’ll need for these buttery biscuits:
- All-purpose flour
- Baking powder
- Sugar
- Salt
- Milk
- Butter
That’s it! A simple list of ingredients that come together to make the most delicious, buttery biscuits. For the full list of ingredients, just scroll down!
Directions
Step 1: Preheat the Oven and Prep Your Dish
Start by preheating your oven to 450°F (232°C). While the oven is heating up, grab a 9×13-inch baking dish and pour in half of the melted butter. Yes, that’s right—half goes in the dish, and the other half will be used later to brush the biscuits.
Step 2: Mix the Dry Ingredients
In a large bowl, whisk together the flour, baking powder, sugar, and salt. These are the basic dry ingredients that give the biscuits structure and fluffiness.
Step 3: Add the Milk
Once your dry ingredients are mixed, pour in the milk and stir until just combined. The dough will be a little lumpy, but that’s okay. You don’t want to overmix it—just make sure everything is moistened and you have a thick, sticky dough.
Step 4: Form the Biscuits
Now comes the fun part! Using a spoon or your hands, drop the biscuit dough into the baking dish on top of the melted butter. The dough should be slightly mounded, not perfectly shaped, which is what gives these biscuits their rustic charm.
Step 5: Add the Remaining Butter
Once your dough is in the dish, pour the remaining melted butter over the top of the biscuits. This is what makes them so perfectly golden and buttery. The butter helps to create those crispy, golden edges while keeping the insides tender and soft.
Step 6: Bake
Pop the dish into the preheated oven and bake for 20-25 minutes, or until the biscuits are golden brown and cooked through. You’ll notice the biscuits will rise beautifully and the butter will bubble up around the edges—your kitchen will smell amazing!
Step 7: Serve and Enjoy
Once the biscuits are out of the oven, let them cool for a minute (if you can wait that long!) and then serve them warm. They’re perfect as a side to any meal or just with a pat of butter and jam for breakfast.
Expert Tips and Tricks
- Don’t Overmix: When adding the milk, be careful not to overwork the dough. You want the biscuits to stay light and fluffy, so mix until everything is just combined. Overmixing can lead to dense biscuits, and we want these to be pillowy!
- Use Cold Milk: For the best texture, try using cold milk straight from the fridge. Cold milk helps keep the dough from spreading too much and gives the biscuits their fluffy texture.
- Extra Crispy Edges: If you love a really crispy edge (who doesn’t?), you can increase the baking time by a couple of minutes. Just keep an eye on them so they don’t burn.
- Freshly Baked is Best: These biscuits are best when served fresh out of the oven. The butter-soaked layers are at their peak of flakiness right after baking, but they’ll still be tasty the next day if you have leftovers.
Recipe Variations and Possible Substitutions
- Cheddar Butter Swim Biscuits: For a cheesy twist, mix in some shredded cheddar cheese with the dry ingredients. These cheesy biscuits are perfect with soups and stews.
- Herb Butter Swim Biscuits: Add finely chopped fresh herbs like rosemary, thyme, or parsley to the dough for a fragrant and flavorful biscuit. This works especially well for dinner rolls or as a side for roast chicken.
- Sweet Butter Swim Biscuits: If you prefer a sweet version, try adding a bit of cinnamon and a tablespoon of honey to the dough. These would be perfect for breakfast or brunch.
- Vegan Version: Substitute the milk with a non-dairy option like almond or oat milk, and replace the butter with a plant-based butter. This way, everyone can enjoy these biscuits!
Serving and Pairing Suggestions
These biscuits are incredibly versatile and pair wonderfully with almost any meal. They’re perfect alongside a hot bowl of soup, chili, or stew. For a hearty breakfast, serve them with eggs, bacon, or sausage. You can also serve them as a side to roasted meats like chicken or beef—basically, anything you want to elevate with some buttery goodness.
And don’t forget: they’re amazing with a slather of honey butter, jam, or even a sprinkle of cinnamon sugar for an extra treat!
Storage and Reheating Tips
If you have any leftover biscuits (and that’s a big if!), store them in an airtight container at room temperature for up to 2 days. To reheat, simply microwave them for 10-15 seconds or place them in a warm oven (wrapped in foil) for a few minutes. They’ll taste just as buttery and delicious as the first time you made them!
4 FAQs
1. Can I freeze Butter Swim Biscuits?
Yes, you can! After baking, let the biscuits cool completely, then place them in a freezer bag or airtight container. When you’re ready to enjoy them, just pop them in the microwave or oven to warm up.
2. Can I make these biscuits without the butter swim technique?
While the butter swim method is what makes these biscuits so special, you can also bake them on a baking sheet if you prefer. Just brush the tops with butter before baking.
3. How do I know when the biscuits are done?
The biscuits should be golden brown on top and firm to the touch. You can also check the bottom; it should be slightly crispy and golden.
4. Can I use self-rising flour instead of all-purpose flour?
Yes! If you use self-rising flour, you can skip the baking powder and salt. Just be sure to adjust the proportions accordingly, as self-rising flour already contains these ingredients.
Conclusion
There’s something so comforting about homemade biscuits, and these Butter Swim Biscuits take it to the next level. Soft, fluffy, and full of buttery flavor, they’re a showstopper no matter what you’re serving them with. Whether you enjoy them with a rich gravy, spread with your favorite jam, or simply on their own, they’re the perfect addition to any meal. So the next time you need a quick, delicious bread recipe, remember these easy and irresistible biscuits—they’ll never disappoint!
Print
Butter Swim Biscuits: Flaky, Buttery Perfection You’ll Love
- Prep Time: 10 minutes
- Cook Time: 20-25 minutes
- Total Time: 30-35 minutes
- Yield: 12 biscuits 1x
- Category: Side Dish, Bread
- Method: Baking
- Cuisine: American
- Diet: Vegetarian
Description
These soft, flaky, and buttery Butter Swim Biscuits are the perfect addition to any meal. With a simple, fuss-free method and a golden, crispy edge, these biscuits come together quickly and melt in your mouth. The secret is in the “butter swim” technique, making them perfectly crispy on the outside while staying tender and soft on the inside.
Ingredients
- 2 1/2 cups all-purpose flour
- 1 tablespoon baking powder
- 1 tablespoon sugar
- 1 teaspoon salt
- 1 cup milk
- 1/2 cup butter (melted), divided (1/2 for the dish, 1/2 for brushing)
Instructions
- Preheat the Oven and Prep the Dish: Preheat your oven to 450°F (232°C). Pour half of the melted butter into a 9×13-inch baking dish and set aside.
- Mix the Dry Ingredients: In a large bowl, whisk together the flour, baking powder, sugar, and salt.
- Add the Milk: Add the milk to the dry ingredients and stir until just combined. The dough should be thick and slightly lumpy.
- Form the Biscuits: Drop spoonfuls of dough onto the prepared baking dish, leaving some space between them. The dough should be mounded for a rustic look.
- Add Remaining Butter: Pour the remaining melted butter over the top of the dough in the dish.
- Bake: Bake for 20-25 minutes, or until golden brown and cooked through.
- Serve and Enjoy: Once out of the oven, let them cool slightly before serving. Enjoy warm with honey butter or jam.
Notes
- Don’t Overmix: Be careful not to overmix the dough. Stir until just combined for light, fluffy biscuits.
- Use Cold Milk: For the best texture, use cold milk to prevent the dough from spreading too much.
- Extra Crispy Edges: For crispier edges, bake an additional 2-3 minutes.
- Freshly Baked is Best: These biscuits are best served fresh out of the oven.
Nutrition
- Serving Size: 1 Biscuit
- Calories: 200
- Sugar: 2g
- Sodium: 300mg
- Fat: 12g
- Saturated Fat: 7g
- Unsaturated Fat: 4g
- Trans Fat: 0g
- Carbohydrates: 22g
- Fiber: 1g
- Protein: 2g
- Cholesterol: 30mg

